Tuesday, March 1, 2016

Crater Lake Tour - The Watchman


After taking my first backcountry tour to Crater Lake a few weeks prior (trip report here), I was eager to get back and check out some different terrain. Looking at the guidebook, it seemed that the Watchman / Hillman Peak would be the next good zone to check out. I checked the weather and avalanche forecast to see if it they would be favorable for the upcoming weekend. As conditions appeared to be falling into place I once again put out the feelers to see if I could wrangle anyone else into joining me. In the end I was only able to find one other taker, Alex Scott, who I'd been on many outdoor adventures with.

Since Crater Lake is quite a ways away from Eugene, we met up at ~6am and headed out of town still a bit groggy. With the recent warming trend, the roads up and over the pass were fairly clear and allowed us to make pretty good time. Once we got onto Hwy 97, the temps were hovering right around the freezing point, and we reached a spot where multiple vehicles had careened off the road, including an 18 wheeler. Although the roads didn't feel too slick, we still brought down the speed a bit as we continued toward our destination. As we reached the south entrance of the park, the snow walls lining the sides of the road started to build until they were eventually taller than the roof of my Subaru. When we finally reached the Rim Village (where we'd start our tour) it was around 9:30 and the sun was shining bright!

Once we had packed our bags and geared up, we hiked down a short bit of exposed asphalt to where the road was blocked by a wall of snow. After climbing up the steep snow bank we were immediately greeted by an amazing view of the lake, which didn't disappoint. The snow surface felt solid under our feet but the top inch or so had softened from the sun, making for perfect skinning conditions. Of course we were not the first to make this journey on this day, which was quite evident by the numerous tracks that lay in front of us. We would also have plenty of company along the way as we leapfrogged with a group from the Oregon Nordic Club. As we made our way toward our destination, both The Watchman and Hillman Peak loomed in the background, whetting our appetite for what was to come.


The start of our day's adventure

Alex settles in for the approach

Some great early views of the lake -- such a special place!

Glad to be amongst it!  

The Watchman looms in the distance

Choose your lane, skins or shoes

Some impressive wind drifts made for a few tricky spots

Quick photo op

The final XC climb up to the west flank of the Watchman was quite tricky due to its side slope and my novice skinning skills. Once past this challenge, we parted ways with the Nordic club as we peeled off the main trail and started making our way up the west slope of The Watchman. Before long, the lookout station came into view and served as a landmark to guide us to the summit. As we were nearing the top, a group of 4 or 5 were starting to make their way down, with a few of them getting ready to strap on a snowboard and descend the same aspect that we were headed up.


Starting the ascent up the west flank

Following the tracks of previous adventurers

The summit within sight

Alex looks out to the north and Hillman Peak

The author takes a breather on the way up The Watchman, with Hillman Peak in background.
(photo by Alex Scott)

For the last 100 yards the gradient became too steep for me to successfully skin up, so I was forced to unstrap and carry my skis up the final pitch. I quickly found Alex who was checking out the lookout station which was glazed with a nice coat of rime and obviously closed for the season. Unfortunately some low clouds had moved in, dropping the temperature and obscuring our view down the north face of The Watchman, which was to be our route. With that, we decided it was a perfect time to dig a snowpit and do a stability test while we waited for the clouds to blow through; another benefit to this exercise is that it was a nice workout to warm our core temps. A shear test, compression test and isolated column test all indicated that the slope was plenty stable. This in conjunction with the recent weather data and avalanche forecast had me feeling pretty good about our terrain selection. During our work the clouds cleared, revealing the beautiful slope beneath us. Reinvigorated, we quickly packed up our tools and prepared our snowboards for a short but sweet ride down the northern face. Since I wanted to snap some photos I offered to go first, which Alex agreed to.


Made it!

Looking east from the summit of The Watchman -- Wizard Island in the foreground and Mt Scott in the background

The rime covered lookout station

Stability test

A view of Hillman Peak, from the snowpit.

Alex, strapped in and eager to drop in!

I strapped into my bindings using the snowpit as a convenient launching pad as I scoped out my line and prepared to drop in. I started on my toe edge to assess the edge hold of the slope before fully committing. The snow felt great so I pointed it downhill and enjoyed as many turns as I could before finally reaching the bottom with a big smile on my face – although it was a short ride it was very sweet indeed! It was now Alex’s turn, so I pulled out the camera and snapped off a few shots while he enjoyed his much deserved turns.


Looking back up after my run

Alex partway down the north face of The Watchman

Wide open terrain 

Alex finishing up the descent of The Watchman

Now with both of us at the bottom, we had a quick celebration but we still needed to make a decision on what to do next, try and get in a run on Hillman or start the trek back to the Rim Village. We determined that it would be a good idea to take a quick break and have a beer before making any hasty decisions. While we were hanging out, we gazed onto Hillman and scoped out possible lines; although we were certainly drawn to all the amazing possibilities, it was already 3pm and we still needed to get back to the car, which was ~4 miles away. Therefore, we decided it would be best for us to start the long slog back and save Hillman for another trip.


The Watchman from our rest spot

Starting the long road back

Parting shot

Unfortunately the beer had killed some of my motivation for the return route, which was evident on how long it took me to reapply my skins and gear up. This time I put on my ski crampons so that I would have better hold as we crossed the sloped traverse that had given me some problems on the way up. Unfortunately this also stole some of the glide, expending more of my already depleting energy reserve. Once we had made it past the tricky spot, I removed the crampons and ate a pack of shot blocks, which seemed to do little to spur me on. Alex, who seemed to have plenty of energy left was putting the hammer down on his snowshoes and it took everything I had to keep up. Eventually the lodge came into view as the sun was quickly approaching the horizon line. In fact, there was a group of photographers lined up on the rim waiting for just the right moment to capture the perfect sunset photo. This would typically be something I couldn’t pass up, but at this point I just wanted to change into some cotton and sit in front of the heater vents in my car. By the time we had loaded up and driven out of the park the sky was dark and my headlights lit up the walls of snow on either side of us. By the time we got back to Eugene it was 9:30pm – quite a long day and I was looking forward to climbing into bed.

Conclusion:
Once again, Crater Lake did not disappoint! As anyone who backcountry skis or snowboards will tell you, the downhill turns are only a small part of the overall adventure, which was certainly the case for this one. Just skinning / snowshoeing along the rim of the lake was worth the trip alone, but throw in a couple of steep turns and getting to check out the historic watchtower was icing on the cake (no pun intended). Basically it was a lot of work for ~30 seconds of downhill but well worth the effort. With that said, next time I would like to either get an earlier start and do a couple of runs or camp out to get more descents the following day. As I stated in my last trip report, I’m already looking forward to and planning my next outing to Crater Lake, there are just so many terrain possibilities!

The Tracks from our tour:

Crater Lake Tour - The Watchman: 7.76 mi • 3:25:29 • 26:29 min/mi • 2.3 mph • 1,621 ft

Wednesday, February 17, 2016

Crater Lake Tour - Garfield & Applegate Peaks


Although I had done a bit of backcountry snowboarding in the 90s, it wasn't until this year that I decided to pick it back up again. Probably one of the biggest evolutions in the sport has been the splitboard technology. Although Voile had developed a DIY kit back in the day, they were far from common and fairly crude. Therefore, the approach was either boot packing or if you were lucky, snowshoes. Today there are numerous choices for boards, bindings, poles and many other optional accessories; it's actually a pretty exciting time for the sport, especially with athletes like Jeremy Jones pushing the limits and showing what's possible.

Once I had acquired all the necessary gear and gotten reacquainted with some of the basic avalanche skills and awareness, I headed out on a couple of small missions to familiarize myself with the backcountry terrain and rebuild some muscles I hadn't used in a very long time. After a couple of off-piste sessions on West Peak (near Willamette Pass) and one on the backside of Hoodoo, I really wanted to hit some proper backcountry and quickly turned my sights to the Crater Lake area, based on some verbal beta from a good friend. Between information that he had given me as well as some info I found within one of the local guidebooks, I decided that my first route there would be to the Garfield and Applegate peaks zone. With the destination decided I reached out to my inner circle to see if I could find anyone else that was interested, for which I came up empty handed.

Since this would be a solo mission I made sure to pick a day that would have low avalanche danger for the aspects I'd be traveling on. It just so happened that this occurred on a Saturday with nice mild temps and overcast skies. From Eugene, the drive took about 3 hours and I found myself at the Steel Visitor Center at around 10:30am. Once I had packed up all my gear and attached the climbing skins to my boards, I started climbing southeast on Rim Drive, which was unplowed and closed to vehicles. Although there were faint ski tracks they were dotted with snowshoe and boot prints -- luckily the snow was firm and skinning was pretty effortless even on the untracked surface.


A taste of what was to come (from the drive)

Let's get this adventure started!

Starting the climb up Rim Drive

A quick pit stop

After about a mile and about 200 feet of climbing I detoured away from the road and started my ascent up toward the peaks.. The route through the forest was very straightforward with widely spaced trees and good sight lines. Since I was using my phone with preloaded maps and the GPS function it was easy to stay on course even though I wasn't able to see either peak at this point. Along the way I traveled through some open fields with a few being fairly vast and providing great views back toward the south.


Nice wide route for the ascent, even in the trees.

Beautiful open fields

Typical terrain no the way up

Eventually Garfield Peak came into view and soon after that Applegate Peak. From a snowboarder's perspective I was immediately overcome with excitement, looking at treeless bowls and run-outs. Even the glades had wide open lines and looked like they'd be lots of fun on the way back down. Along with the great terrain potential the scenery and solitude was simply amazing -- I couldn't believe that I was the only one around to enjoy this amazing place.


The first views of Garfield

And Applegate!

Getting closer

A glimpse at the lake

As I continued on the climb it continued to steepen and eventually I was forced to disengage from my boards and boot-pack up the final push to the summit of Garfield Peak. The wind had also picked up and push/pulled on my splitboard which was now strapped to my pack. Before long I rounded the final pitch where I found a nice fat top and my first real view of Crater Lake. Although I had taken in many views of the lake while riding my road bike around it (trip report here) this one felt a little more special, especially since I didn't see another soul and it felt like I had the whole lake to myself.


The view from the top of Garfield

Looking out toward Mt Scott

Applegate, from the top of Garfield

Once I had taken in the view I assembled my splitboard and geared up for the descent. As I rolled over the first pitch it took a few turns to get used to the consistency of the snow, which had a fairly hard base and a thin soft layer on top, basically just enough to dig in an edge. The downhill went by very quickly, mainly because I didn't want to drop down too far since I still wanted to head up to Applegate Peak as well.


The first turns!

Only about a half mile and 400 vertical feet to the top of Applegate, I debated on whether or not it was worth putting on my skins again or just doing the traverse on foot. In the end I decided to switch over to skinning mode, mainly for the practice. The off camber route combined with some icy sections made the journey a bit of a challenge, especially for my weak skinning skills -- I'm sure I looked like Bambi as I made my way across the icy patches. The closer I got to the top the better I felt about my decision to bag the second peak as it looked like it would be an even better descent than Garfield!


Traversing over to Applegate

Looking out toward Union Peak, from partway up Applegate

While switching back over to snowboard mode I had a pretty nice view to the south and the route that I would be using to get back to the road. Being confident in the stability of the snow, I dropped down the upper bowl while making sure to get as much enjoyment as I could out the few turns I’d be getting down the steep face. All too soon the gradient mellowed out and I did my best to carry speed so that I could make it through the flatter and short uphill sections over the next few miles. It was actually a fun challenge and I only needed to unstrap and hike for a total of a couple hundred yards.


Getting ready for the second descent

Great views of Union Peak

And Mt. Mcloughlin

The first turns down Applegate's upper bowl

Still a long way to go

Typical terrain on the lower/flatter stretch

Now back at rim drive I had to once again hike for a short flat bit before the road tilted downward and I could once again strap into my board for a fairly uneventful ride. The very last section of road also required some hiking which definitely depleted any remaining energy storage that I had left. By the time I had made it back to the car it was almost 4pm, which made it quite a long day but one that I will cherish for some time to come!

Parting thoughts:
I really enjoyed this tour and it only made me excited to check out some of the other zones at Crater Lake. The terrain was certainly good but the real treat was the views and general ambiance of the area. This is certainly an area that I will return to again and it will probably become a yearly destination, if not worthy of a couple trips a year.

The tracks from my tour:


Crater Lake Tour - Garfield & Applegate: 6.92 mi • 2:18:31 • 20:01 min/mi • 3.0 mph • 2,828 ft

Wednesday, December 23, 2015

SF McKenzie - French Pete to Slide Creek (OR)

The South Fork of the McKenzie (above Cougar Reservoir) is one of those runs that has always seemed to allude me. Although it's not an extremely common run, it does have a brief write-up in the local guidebook and I've had multiple boaters tell me that it was well worth doing, especially when other local runs are a bit high. Probably the main reason I hadn't done it yet was due to the fairly short season that it's boatable, as least for the section that holds the best rapids. You see, for most of the year it is inaccessible; not because of snowpack or a locked gate, but because it's actually hidden beneath Cougar Reservoir, when the water level is higher.


The elevation of the reservoir was ~1560' (the 19th), you wouldn't want it much higher. 

According to the guidebook the run is 8.5 miles long. However; since the upper half of the run was also stated as being fairly uneventful, we decided to put-in about a half mile above French Pete Campground, at a road bridge that crossed the river. Bobby, who was the only person in our group who had done the run, confirmed that the upper stuff probably wasn't worth doing from a whitewater standpoint, especially with all the wood that they had encountered. From our put-in, we would have ~3.5 miles of river to the take-out, at Slide Creek Campground. As for flows, we would have ~2,300cfs, which was considered a good amount of water for this run!


Our flow - ~2,300cfs

As I peeled out of the eddy and passed underneath the bridge, I could feel the power of the river carrying me downstream. Since I typically paddle steeper low volume creeks, it always takes a little bit of time for me to adjust to the bigger water. The first two miles of river, between the road bridges, pretty much ran together -- continuous class II+/III with some hole dodging here and there. It actually reminded me a lot of the Upper Upper Calapooia at high water. Since there weren't many eddies or discernible drops in this first half, I didn't stop to take any photos, but it's basically just a read-n-run type affair.


Looking downstream, from the put-in bridge

Below the bridge (Cougar Crossing) the river mellowed out for a short distance as we entered the section that is usually concealed by the reservoir. We eventually reached a larger horizon line and the river disappeared around a right-hand bend. I was certain that this was the one drop we had seen from the road, with the dominant landmark being a large cliff wall that the rapid banked off of at the bottom. Even though we were able to scout it from the road, that was from ~200’ above the river and looking straight down, which only gave us a general understanding of the layout but little indication of how big it would feel once we were in the middle of it. Since I wanted to take some photos anyway, I jumped out on river right to take a quick peek at the drop. From river level it looked fairly straightforward – there were multiple line options with a few wave holes to be aware of, although none looked particularly sticky. The largest hole was actually at the bottom, spanning the whole right side of the river. After giving me a little bit of time to get out my camera and set-up for a shot, Roman dropped in, starting right and finishing center-right. He ended up hitting the gut of the bottom hole but punched through with relative ease.


The first major rapid after the Cougar Crossing bridge (from the road)

Roman gets ready to drop in

Roman, partway through.

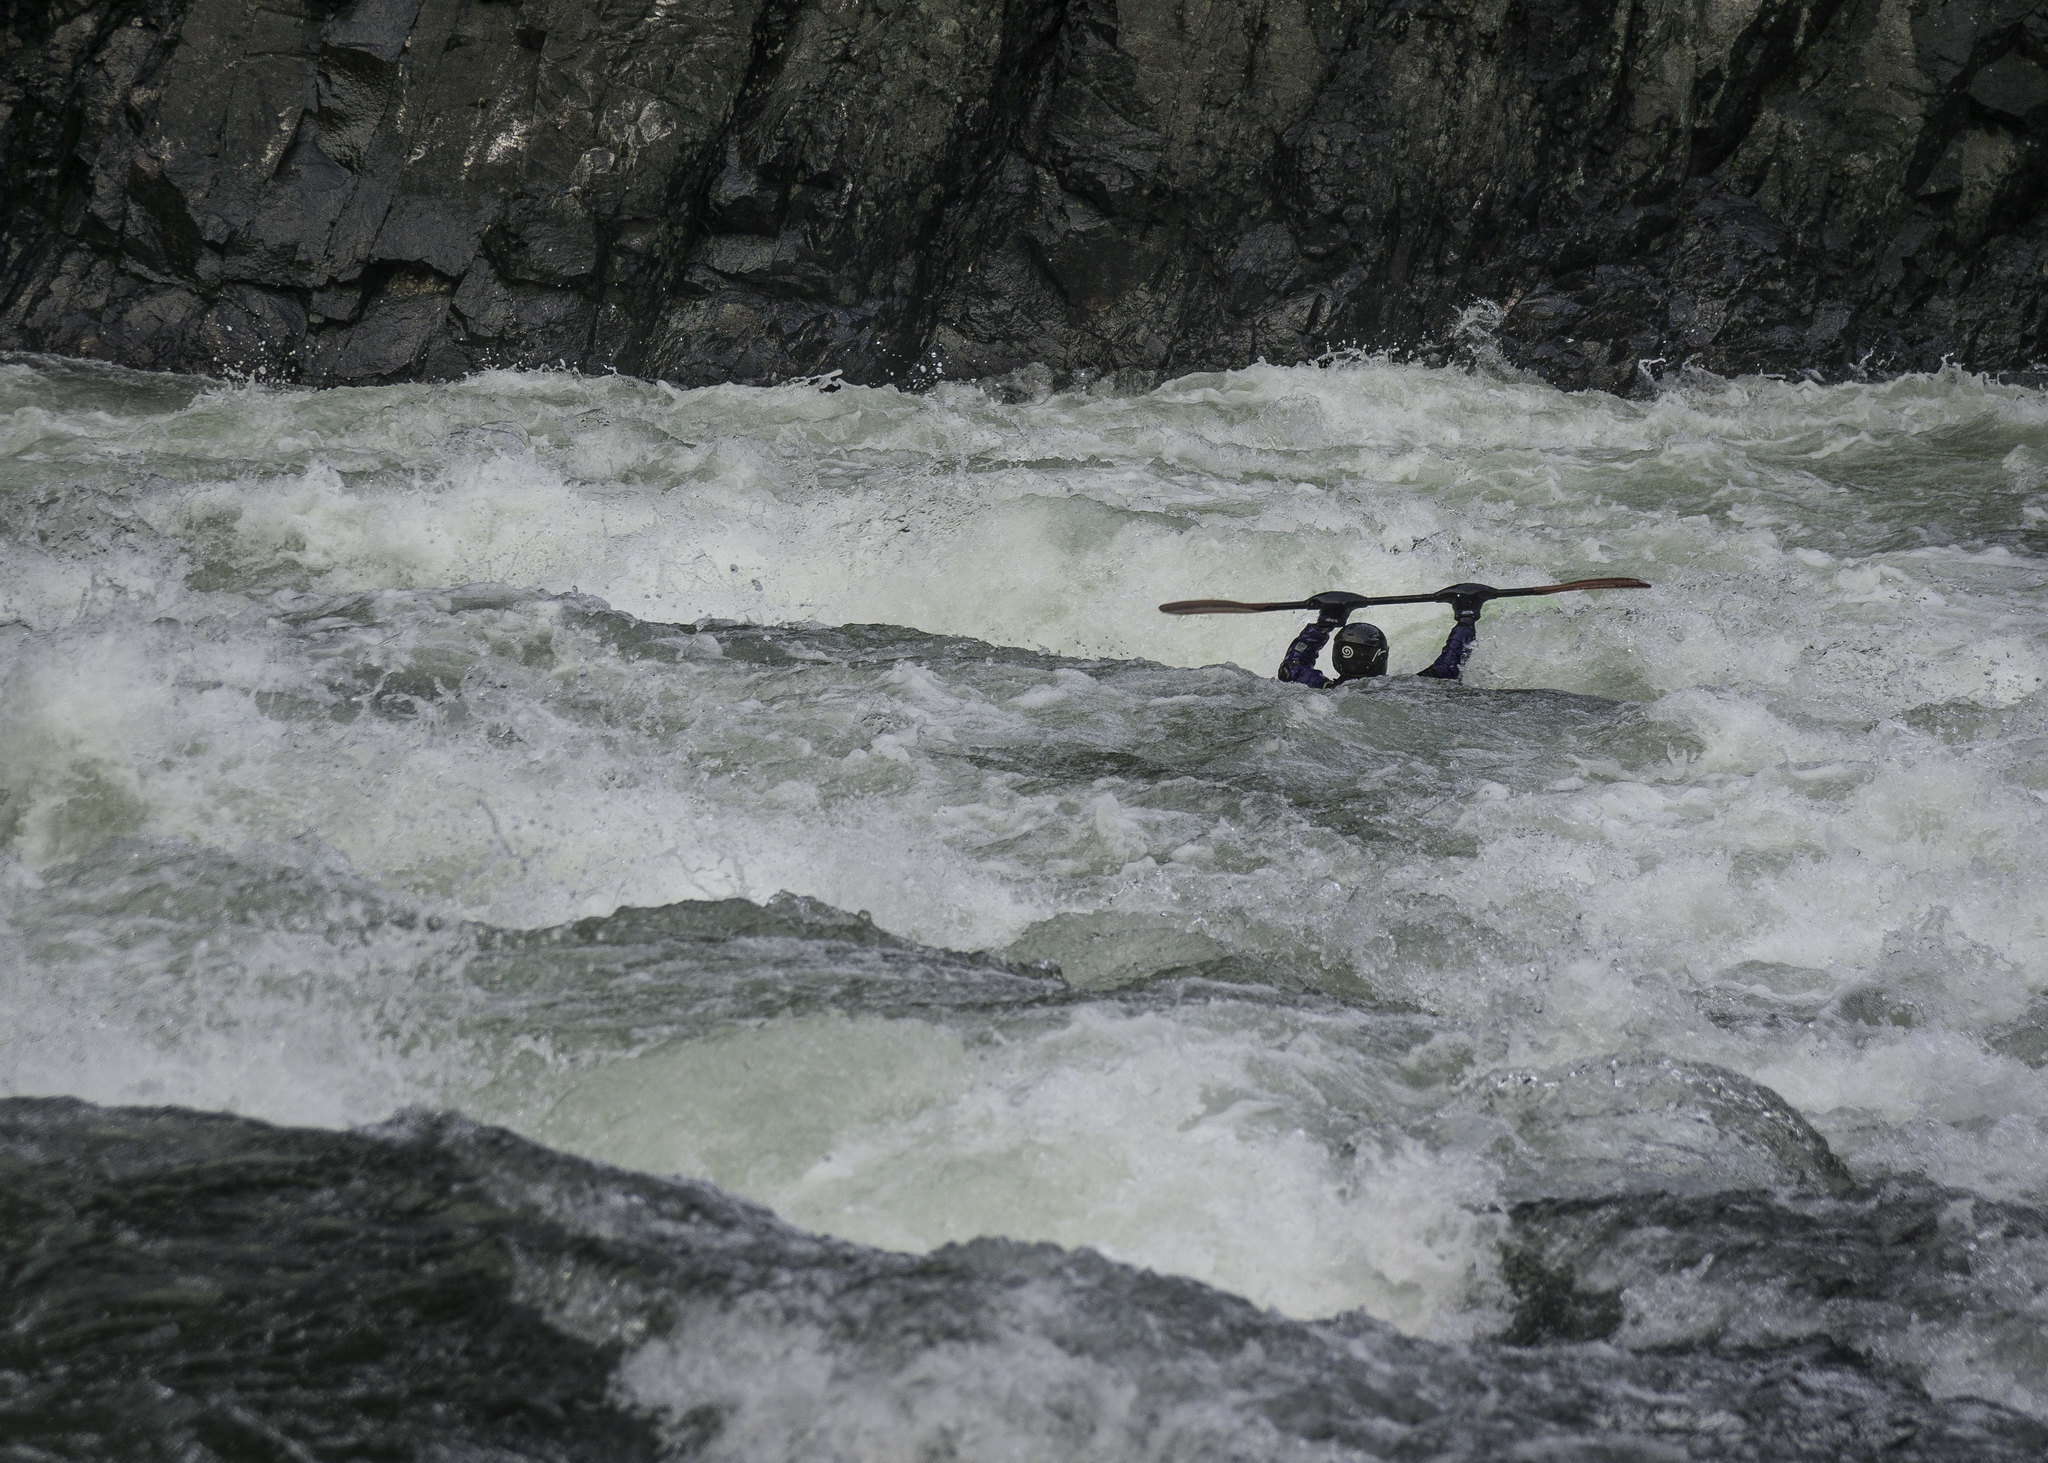
Pitts deep in the bottom hole

Finishing up

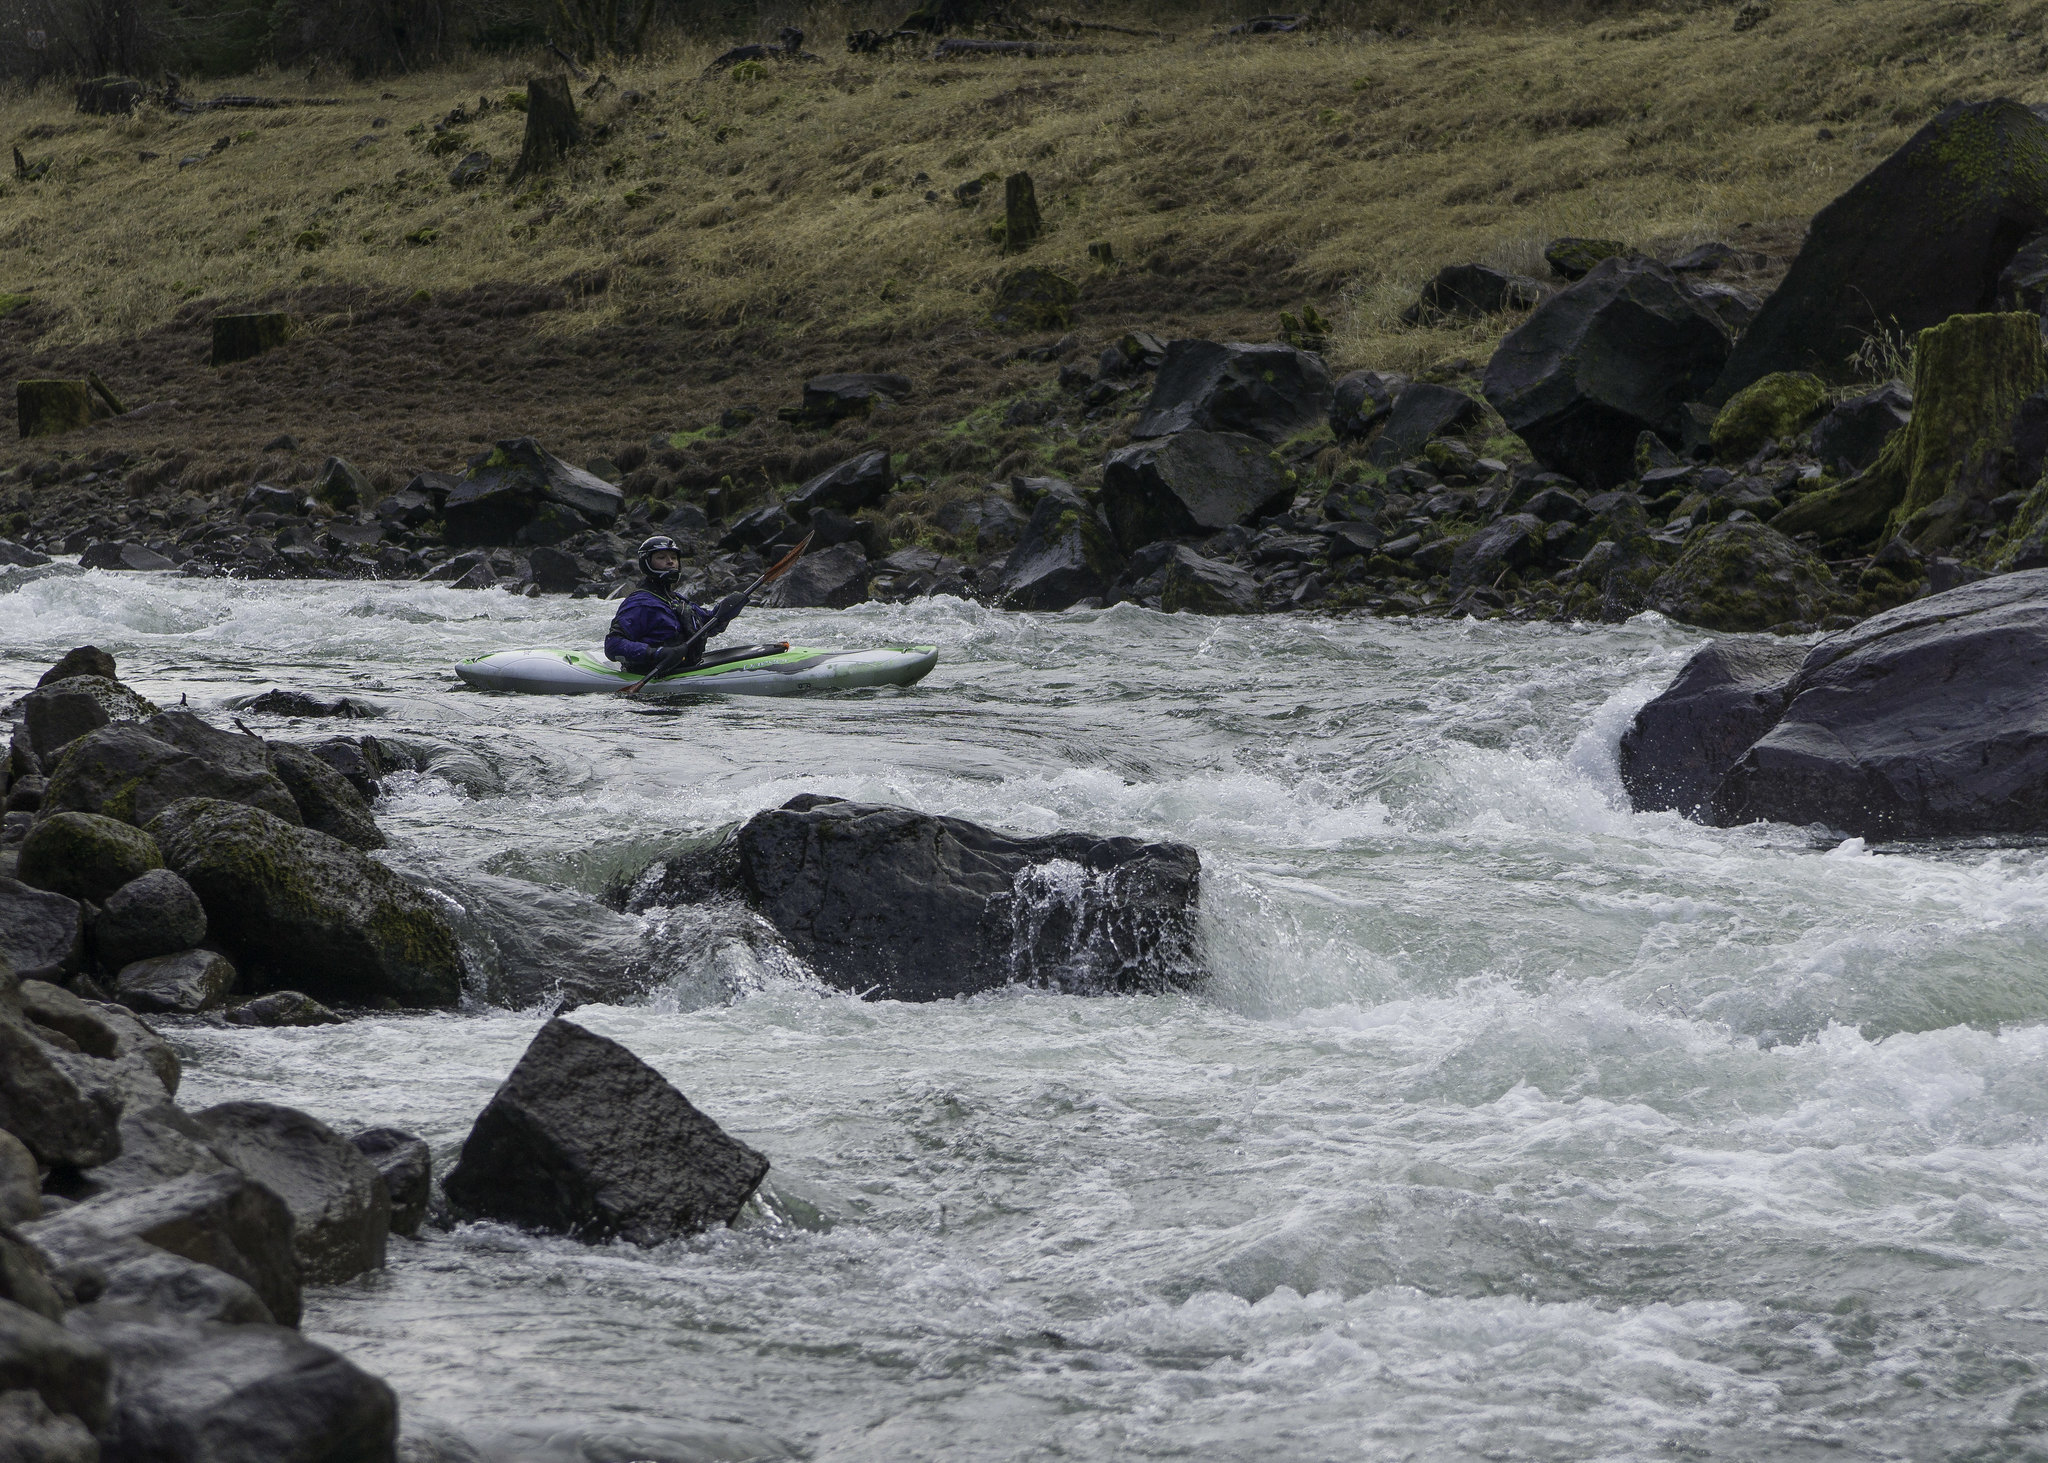
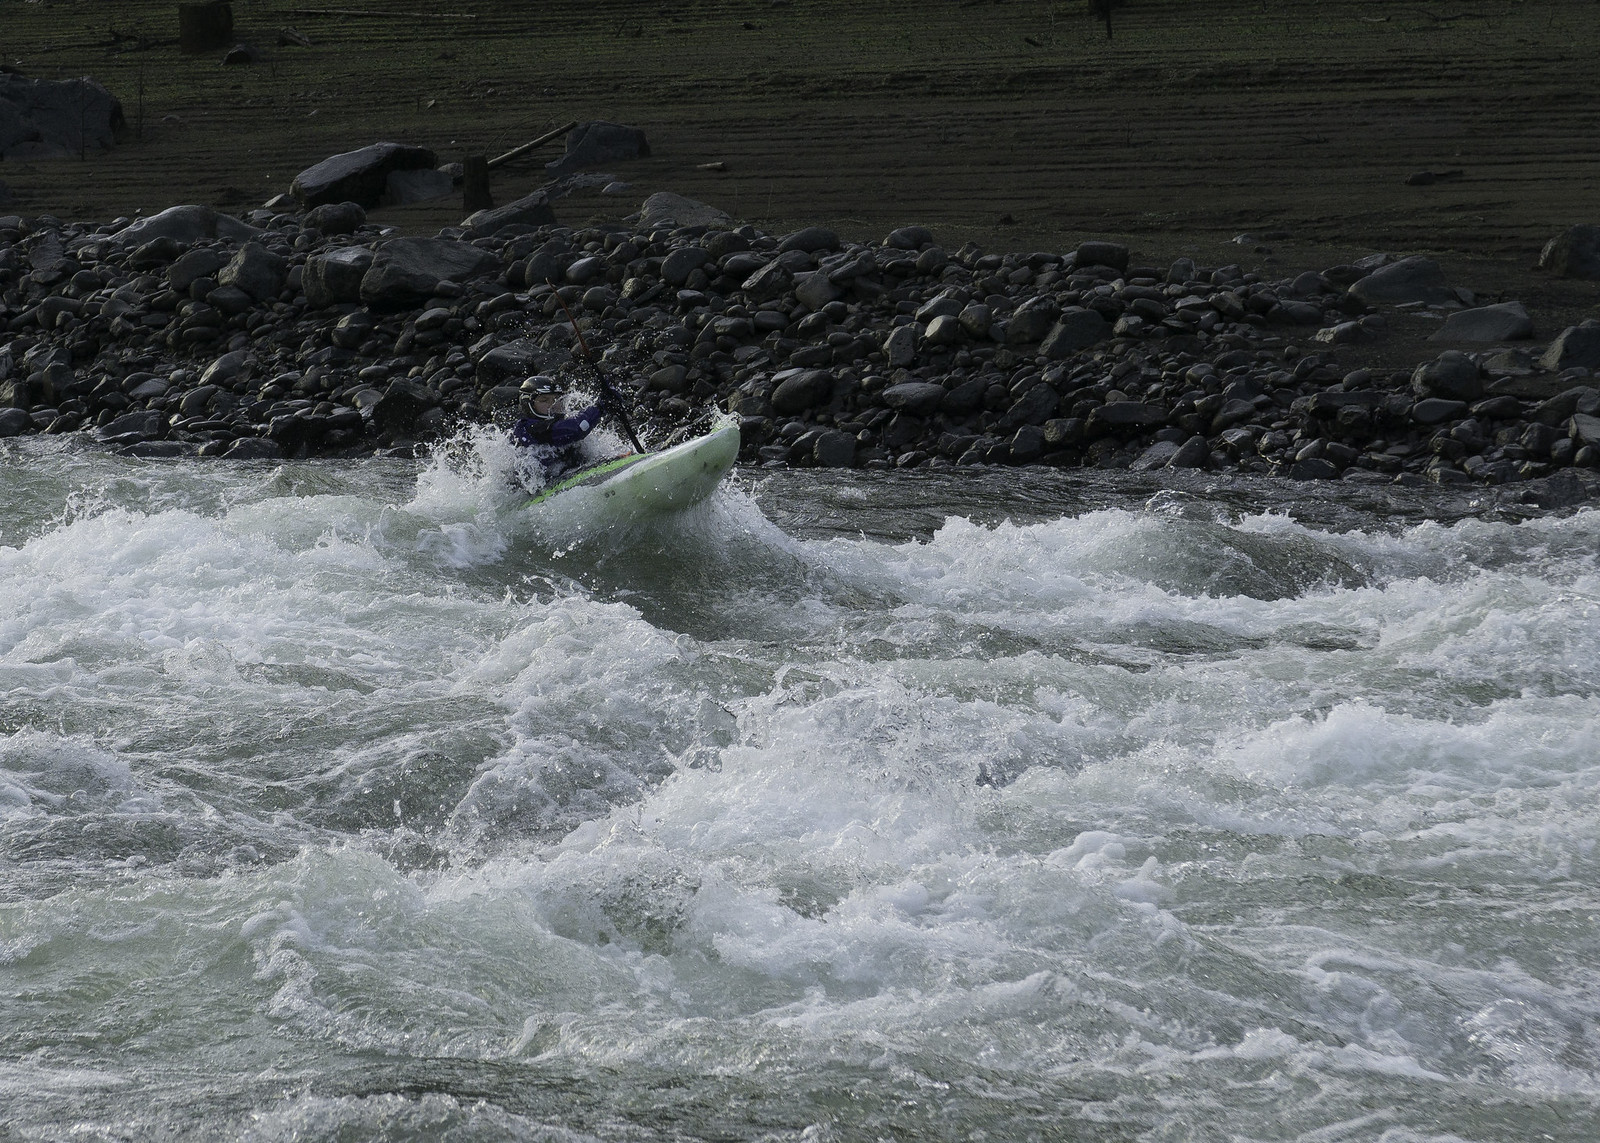
For my line, the plan was to start right but drive harder left, hitting the soft spot of the hole and riding the run-out that banked off the cliff wall. It ended up being a pretty fun drop but got a little exciting when I dropped into a diagonal hole, which I had misjudged the size and spacing of during the scout. Luckily I made it through unscathed and met up with Roman in the eddy below. Since Scott and Jim hadn’t yet dropped in, I decided to head down and set-up for photos on the next drop while the others waited for them.


Scott finishes his run while Bobby looks on

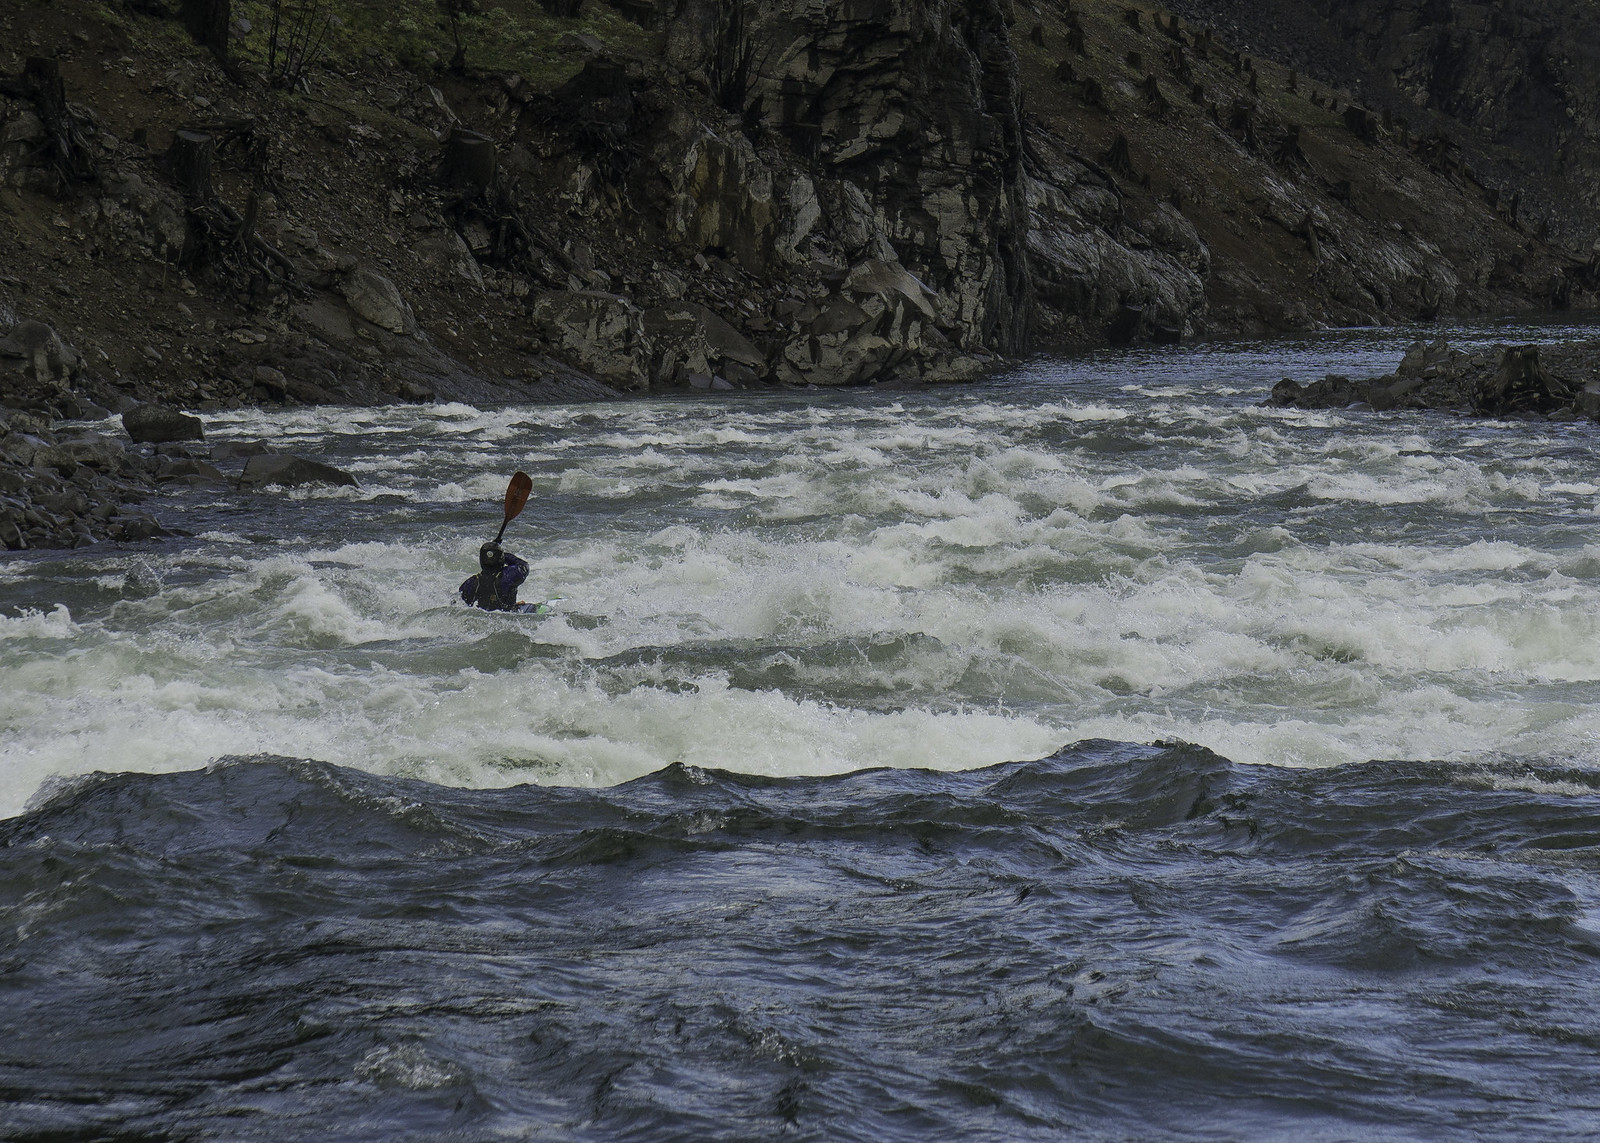
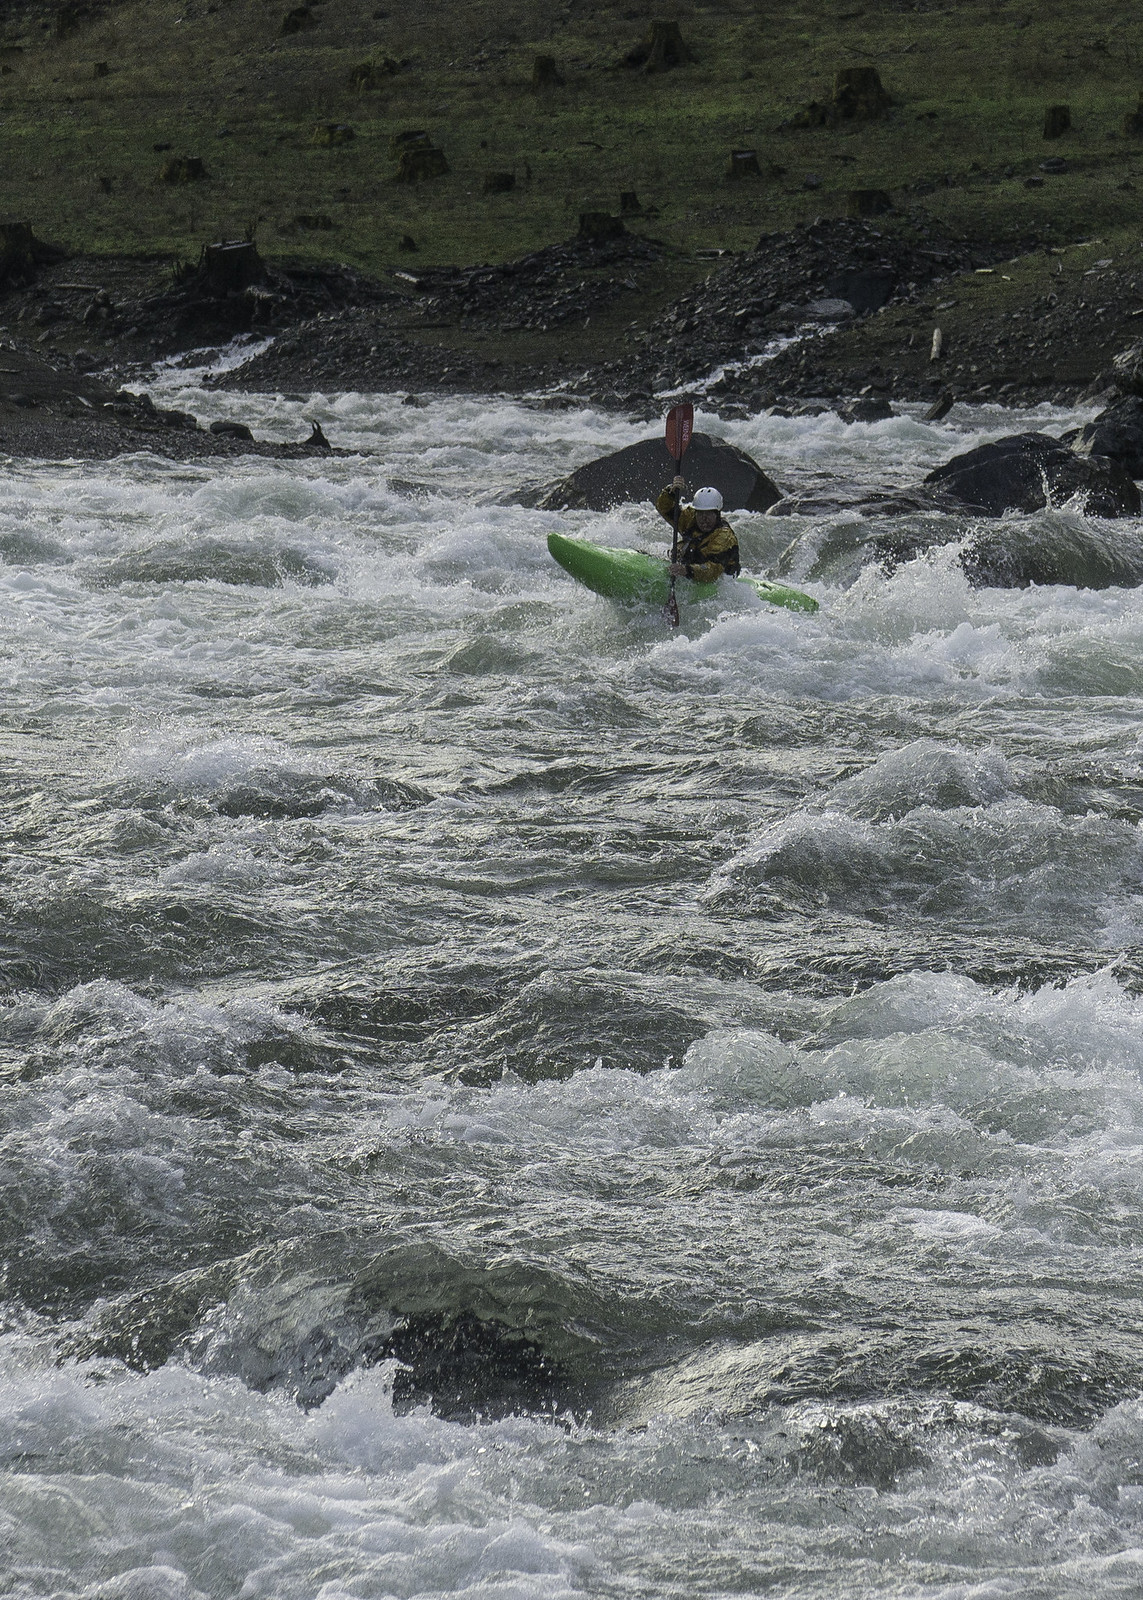
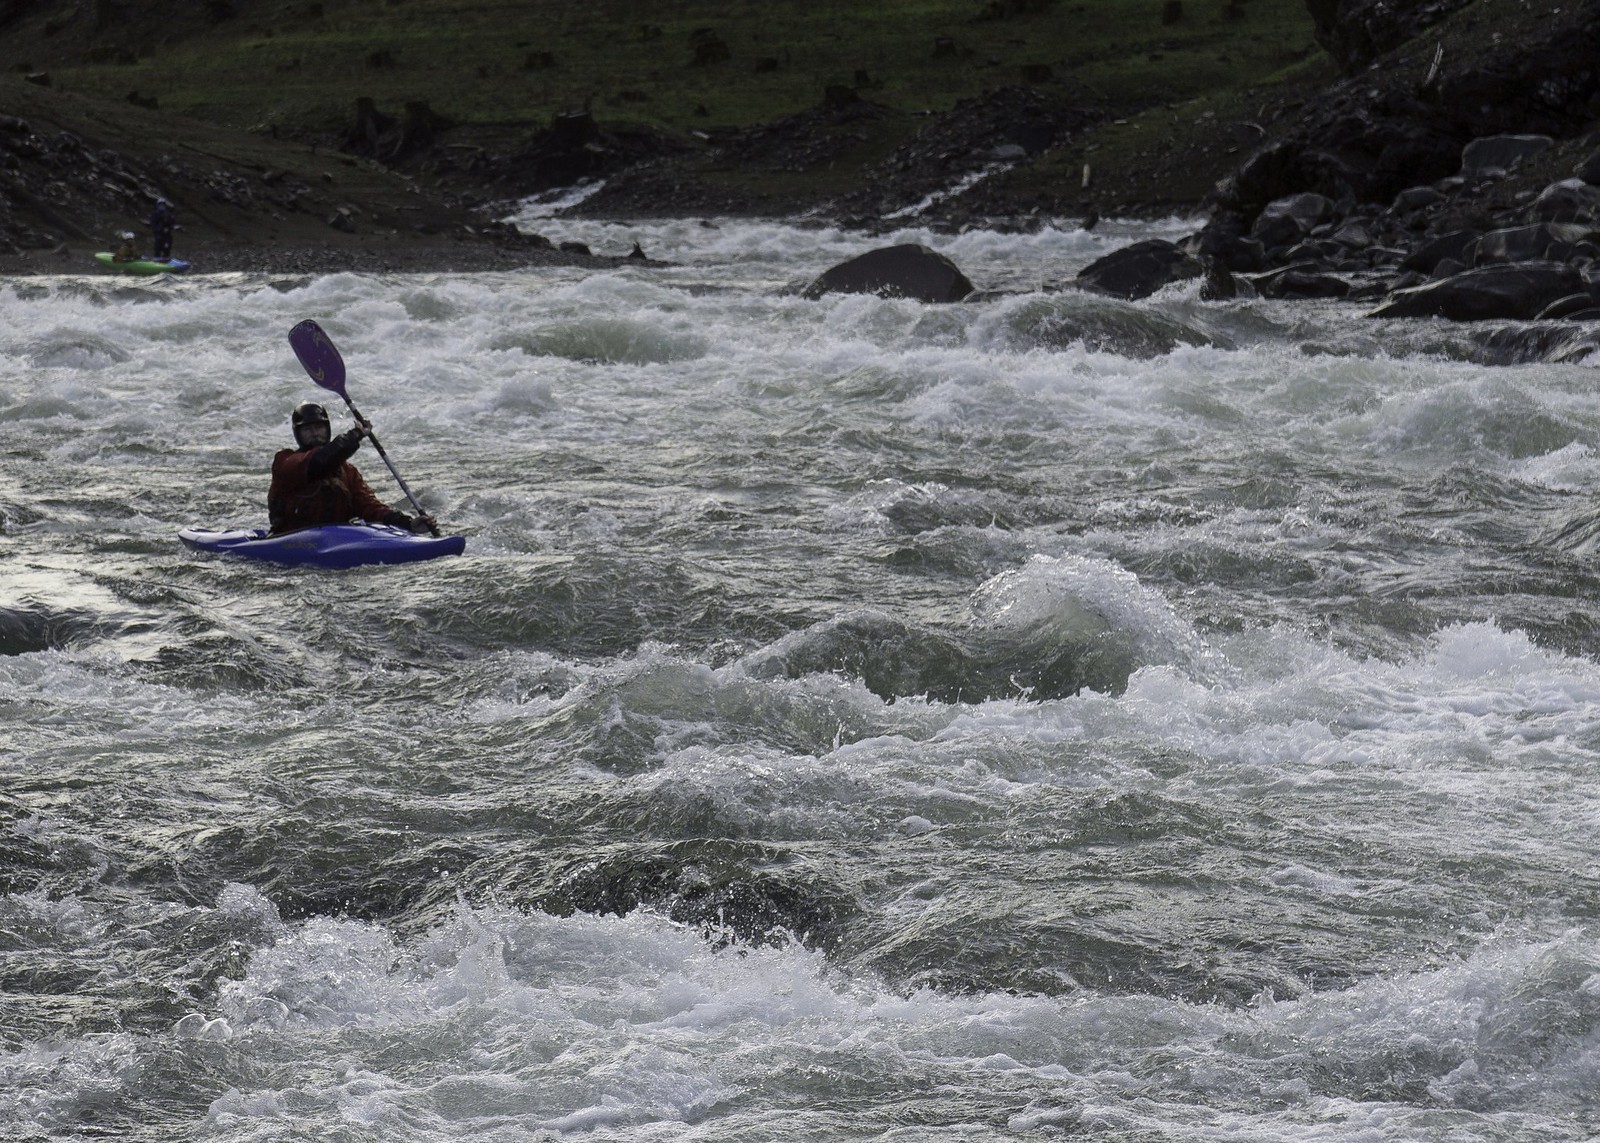
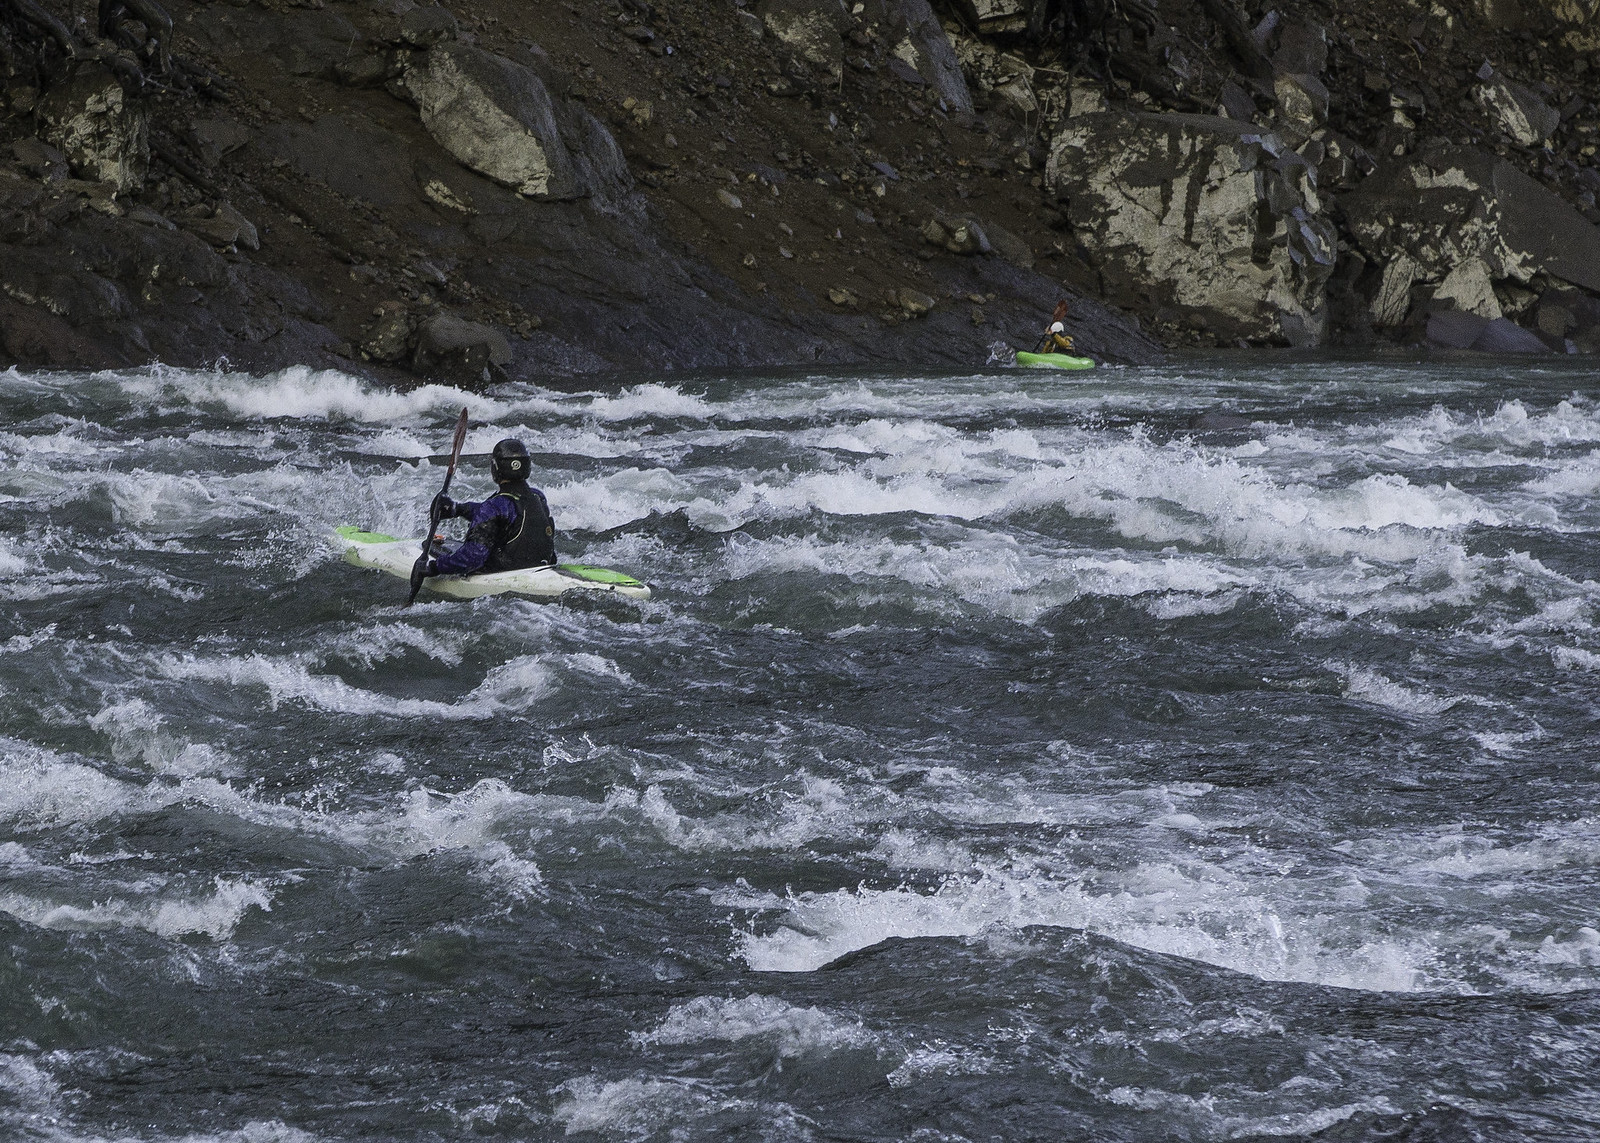
The next rapid in line was much longer and also appeared to be a bit more spicy. From my vantage point, there appeared to be a rather large hole guarding the entire right side of the river about halfway down. Since there were also some holes on the left near the top of the rapid, the best approach seemed to be starting right and then working toward the center-left of the river. After giving verbal beta to the others, I took photos as they passed by one-by-one and dropped in. Sure enough, the hole down the right did present some excitement and even a flip, but luckily everyone made it through safely and were waiting in the eddy below. Now my turn, I followed my planned route and was feeling pretty good about how I was set up. Unfortunately, I wasn’t able to cut to the left as well as I would have liked and ended up dropping into the edge of the hole -- sideways of course… I instantly leaned into the pile and dug in with my paddle, freeing myself from its grips. What I hadn’t seen from my scouting platform was that it was also backed up by another hole, which I also dropped into. Fortunately I was able to hit the second one straight on and got in enough of a stroke to blast through. The second half of the rapid mellowed out and I was soon eddied out with the others, where we shared stories about our battle with the double-hole.


Jim enters the second big rapid

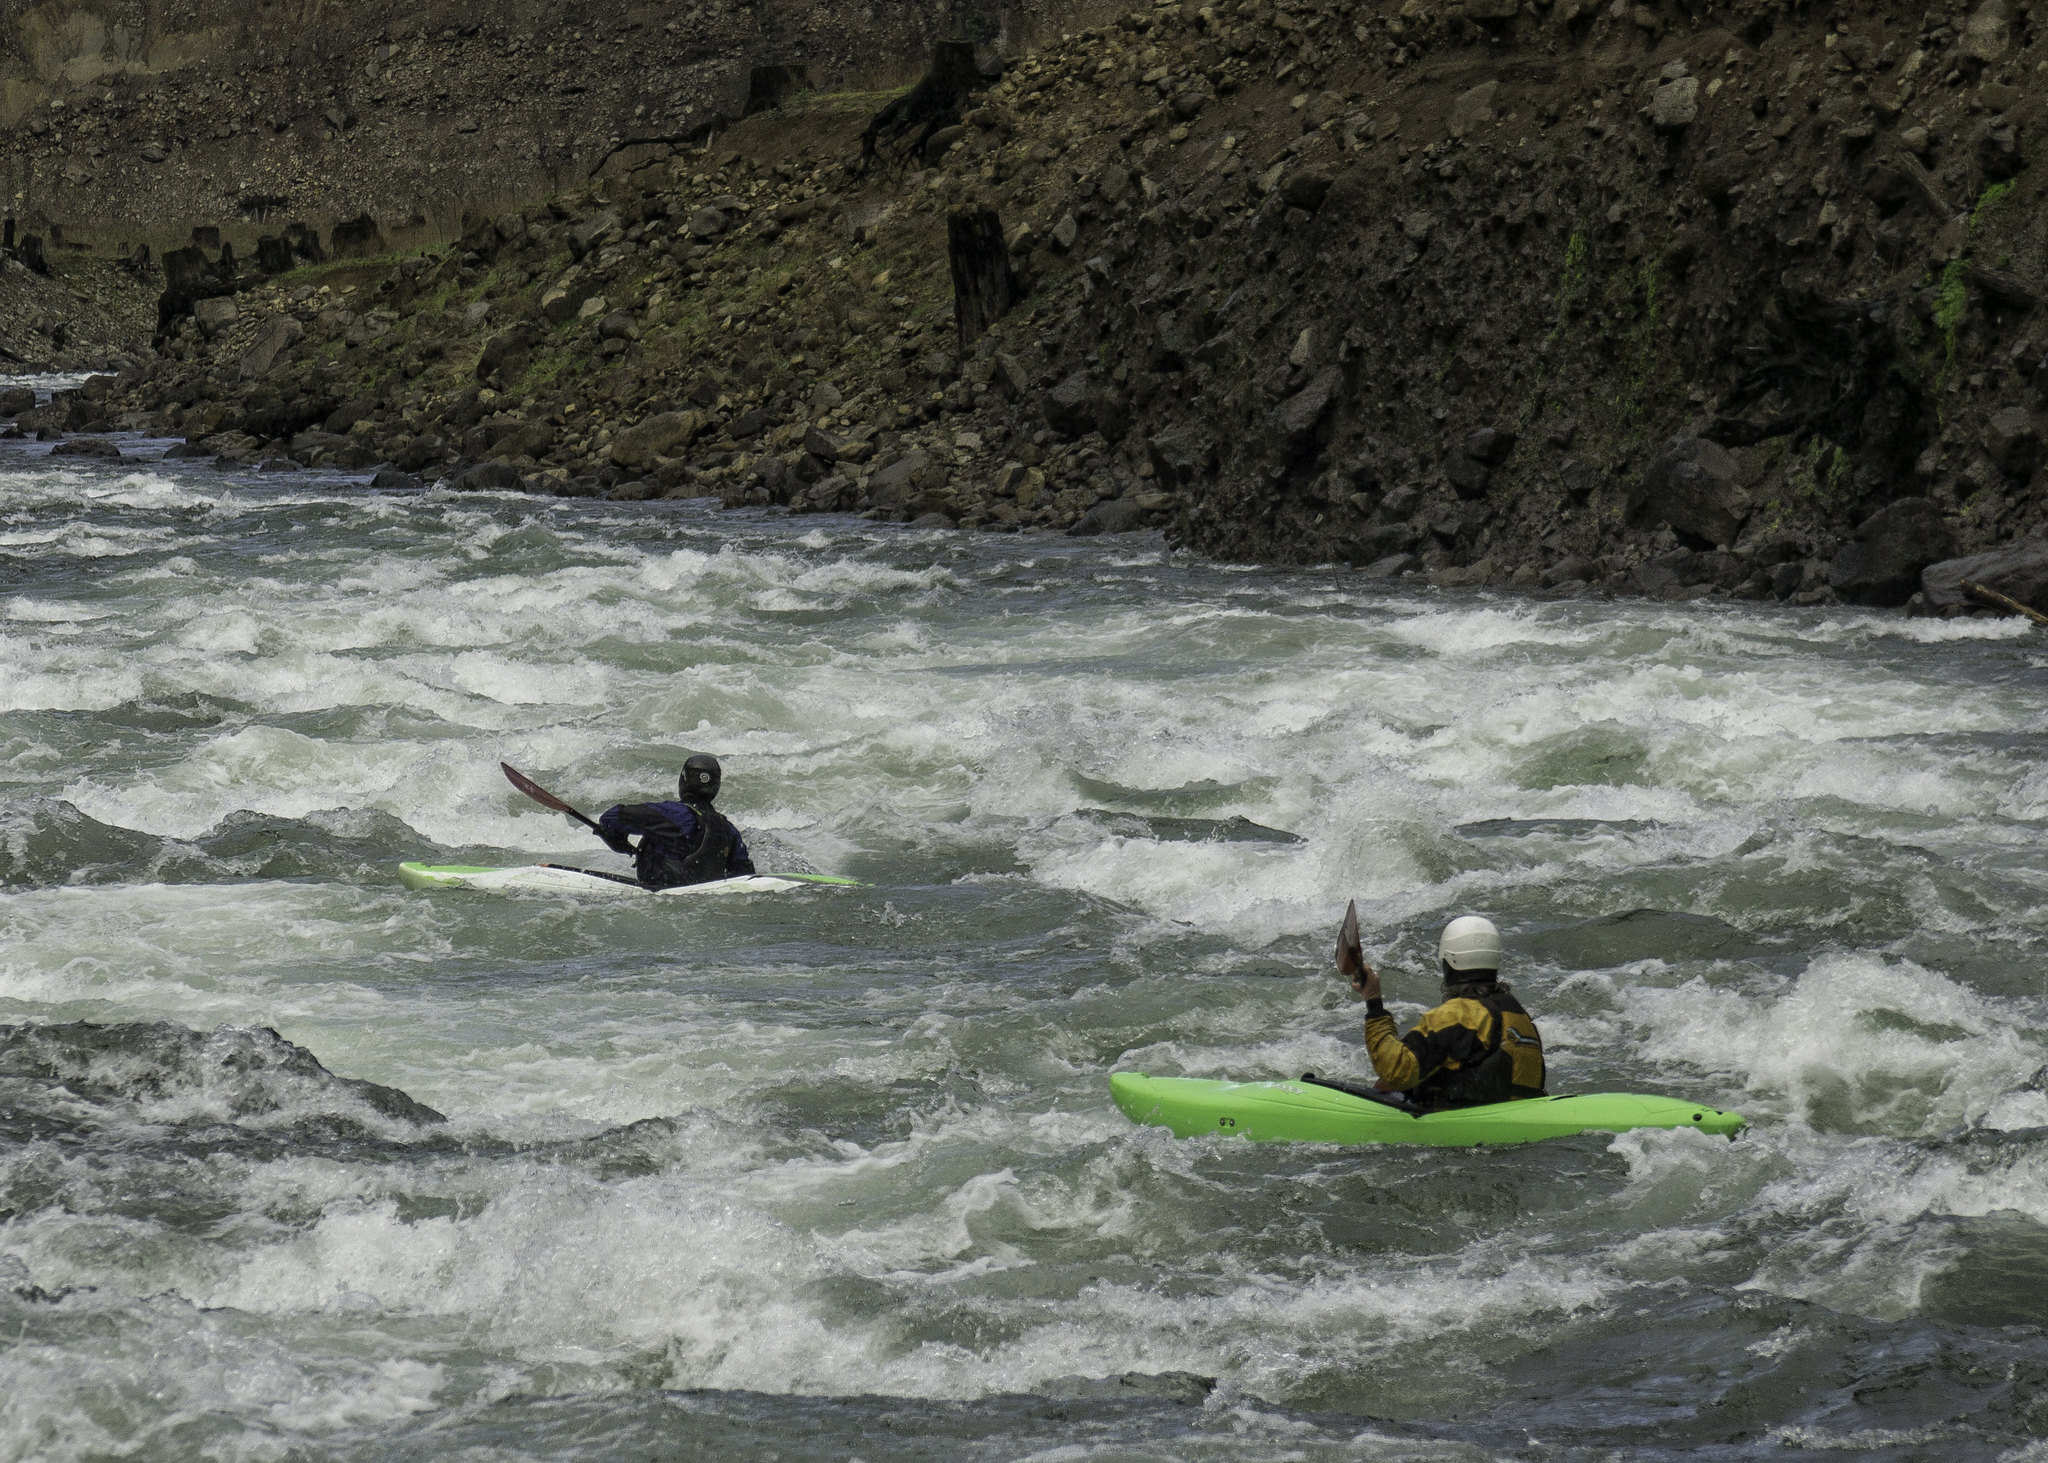
Roman and Bobby, in the thick of it.

Scott about to encounter the double-hole

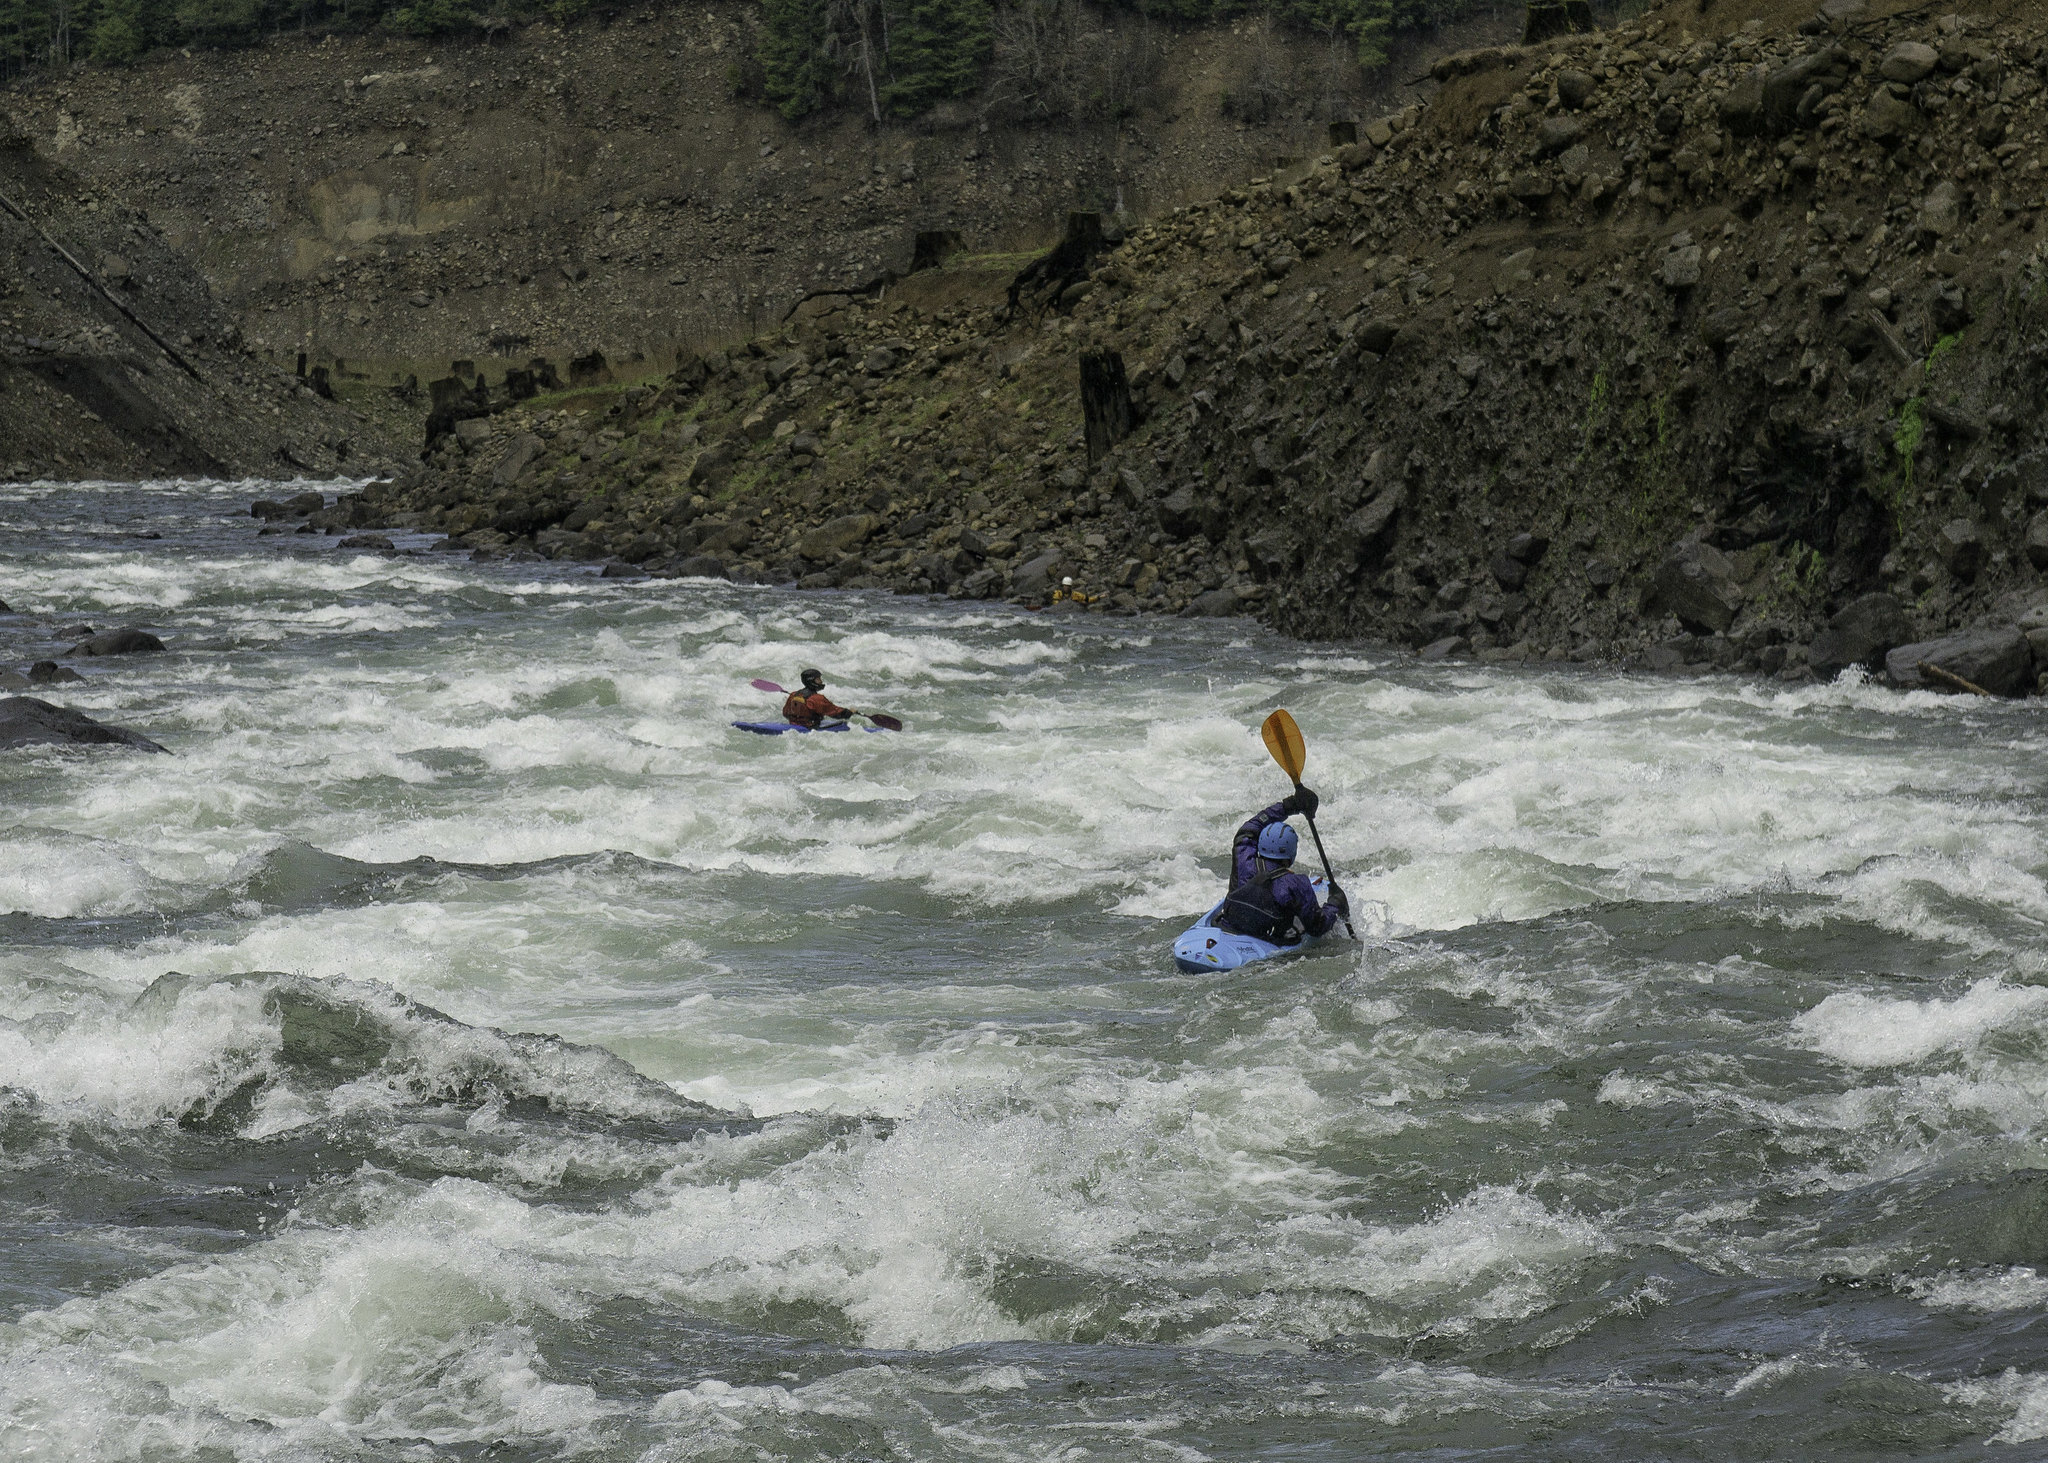
The next section of river went around a couple bends of continuous read-n-run rapids -- although they were pretty straightforward they were also plenty of fun and only added to the run as a whole. Before long, we reached the last rapid of the run, which was another long one. The main obstacle here was actually the top guard hole, which spanned almost the entire width of the river. There was a tongue down the left, which definitely looked like the best way to enter the rapid. From there you would need to make a move back toward the center of the river to avoid a rock pour-over, but once past that it looked like easy sailing all the way down to the calm waters of the reservoir. Once again I took photos while Roman dropped in. As expected, he greased the line and eddied out on river left about halfway down the rapid. I went next with essentially the same line, although I broke right after the rock pour-over and eddied out further down where I could get some photos of the rest of the crew coming through.
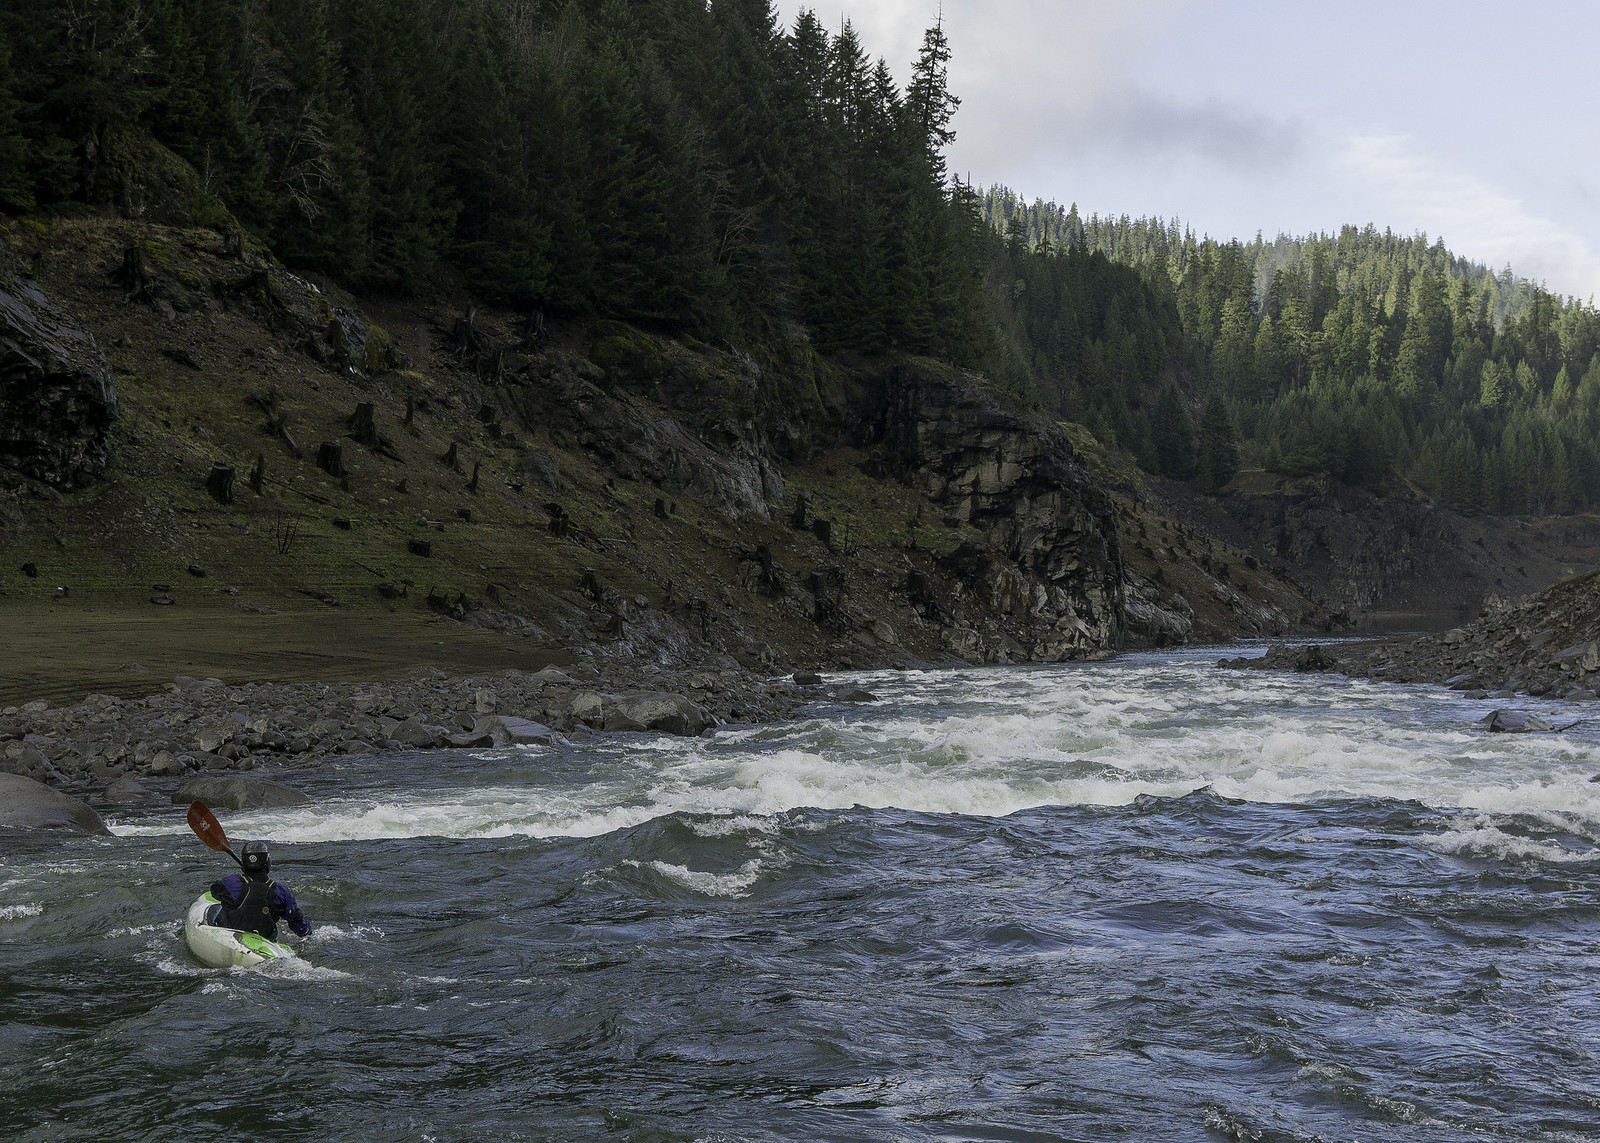

Roman enters the final rapid, stage left.

Making the cut around the rock pour-over (to his left).

The author takes his turn
(photo by Jim Reed)

Bobby, drivin' hard.

Jim gives chase

Roman reenters the final rapid

Finishin' up

With everyone now safely down at the reservoir, I packed up my camera gear and headed down to join them. There was one more fun airplane move at the very bottom left, which I graciously took advantage of. With just a short flatwater paddle to the boat ramp, we soon found ourselves beached on the muddy river bed. This only added to the effort of getting up to our car, which was all the way at the road, since the gate to the campground was locked. The hike out was only a quarter mile, climbing ~150 vertical feet, but it was certainly enough to wind me a bit and dissuade me enough from doing another lap.


Jim, stoked to bag another new run!

An end to a great day on the water!

Conclusion:
I’m really happy that I was finally able to bag this run – it was super fun and like the others had said, well worth doing. Although I wouldn’t call it a classic, it’s a great option when other runs in the area are too high for comfort. As mentioned earlier, the best part of this run is under the reservoir for most of the season, therefore your best bet is to get on it during late fall / early winter, before they start filling it up. Luckily there is an online gauge that can be used to determine the water level (found here). It was at ~1,560’ on this day, which just left the rapids uncovered; in other words, you wouldn’t want the water elevation to be much higher. As for flow, we had ~2,300cfs (gauge found here), which I would consider a good medium flow. The holes would certainly get bigger and the rapids pushier at higher flows but I’m guessing it would still be very manageable with another 1,000cfs. As for lower flows, Bobby had done it with about half the flow and said that it just becomes a more technical boulder garden affair, similar to the final rapid on Blue River (below the Mona bridge). Since we didn’t do the top 5 miles listed in the guidebook I can’t speak to the quality of it, but according to Bobby it’s really not worth it, especially with all the wood they encountered. It seems that the general consensus is that the last 3.5 miles that we did is definitely the best part and the reason for doing the run. All of that said, I would certainly do this run once or twice a season, especially with a tad more water. BTW, it would also be a fun run in a playboat – just a little more exciting!

Additional flow/water level info:
Along with the two links above, a nice resource for determining conditions can be found here:
http://www.nwd-wc.usace.army.mil/nwp/teacup/willamette/